
Introduction
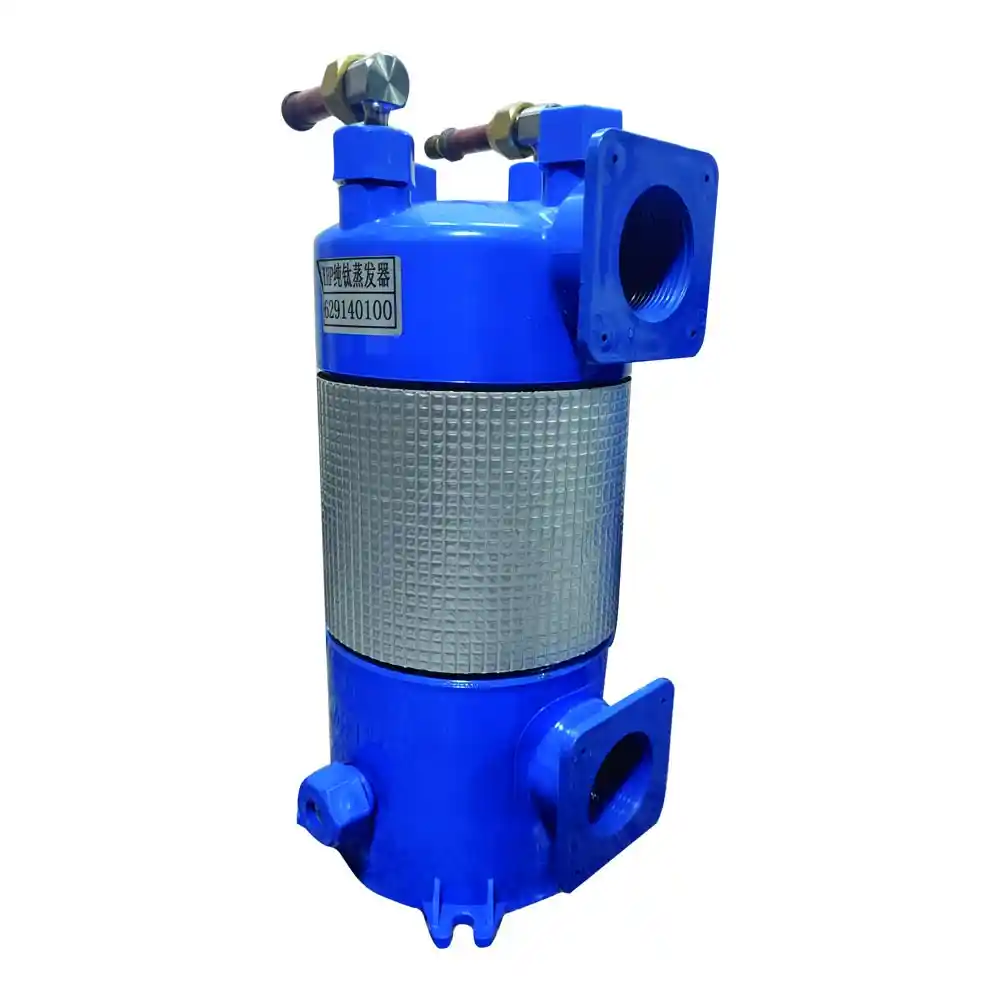
The installation of the PVC shell is a crucial step in the assembly of a titanium coil heat exchanger. The PVC shell provides structural support, protection, and insulation for the titanium coils, ensuring efficient heat transfer. This article provides a detailed guide on the process of installing the PVC shell in a titanium coil heat exchanger assembly.
1. Preparing for PVC Shell Installation
Before starting the installation process, it is important to properly prepare the components and workspace. The following steps should be taken:
1.1. Inspecting PVC Shell
Thoroughly inspect the PVC shell for any defects, damage, or imperfections. Ensure that the shell meets the required specifications and quality standards.
1.2. Cleaning the PVC Shell
Clean the interior and exterior of the PVC shell to remove any dirt, debris, or residual materials. Use suitable cleaning agents and techniques to ensure a clean and contamination-free surface.
1.3. Organizing Tools and Equipment
Gather all the necessary tools and equipment required for the installation process. This may include clamps, fasteners, adhesives, and appropriate safety gear.
2. PVC Shell Installation Procedure
The following steps outline the procedure for installing the PVC shell in a titanium coil heat exchanger assembly:
2.1. Positioning the PVC Shell
- Carefully position the PVC shell in the desired location, ensuring proper alignment with the inlet and outlet connections.
- Ensure there is adequate clearance for the titanium coils and other components.
2.2. Securing the PVC Shell
- Use clamps, brackets, or other suitable fasteners to securely attach the PVC shell to the supporting structure or base.
- Ensure the shell is firmly held in place to prevent movement or dislodgment during operation.
2.3. Sealing the Connections
- Apply an appropriate sealant or adhesive to the connections between the PVC shell and the inlet and outlet pipes.
- Ensure a watertight and leak-free seal to maintain the integrity of the heat exchanger.
2.4. Insulating the PVC Shell
- Apply insulation material around the PVC shell to minimize heat loss and improve energy efficiency.
- Use insulation sleeves, tapes, or other insulation products suitable for the operating conditions.
Table 1: PVC Shell Installation Checklist
| Installation Step | Descripción |
|---|---|
| Inspect PVC Shell | Thoroughly check the PVC shell for defects, damage, or imperfections. |
| Clean PVC Shell | Ensure the interior and exterior of the PVC shell are clean and free from debris or contaminants. |
| Prepare Tools and Equipment | Gather all the necessary tools and equipment required for the installation process. |
| Position PVC Shell | Carefully position the PVC shell in the desired location, ensuring proper alignment. |
| Secure PVC Shell | Use suitable clamps, brackets, or fasteners to securely attach the PVC shell to the structure. |
| Seal Connections | Apply a sealant or adhesive to create a watertight seal between the PVC shell and pipes. |
| Insulate PVC Shell | Apply insulation material around the PVC shell to minimize heat loss and improve energy efficiency. |
Conclusion
The proper installation of the PVC shell in a titanium coil heat exchanger assembly is essential for the overall performance and durability of the heat exchanger. By following the outlined steps and ensuring careful alignment, secure fastening, and proper sealing, manufacturers can create reliable heat exchangers with efficient heat transfer capabilities.
