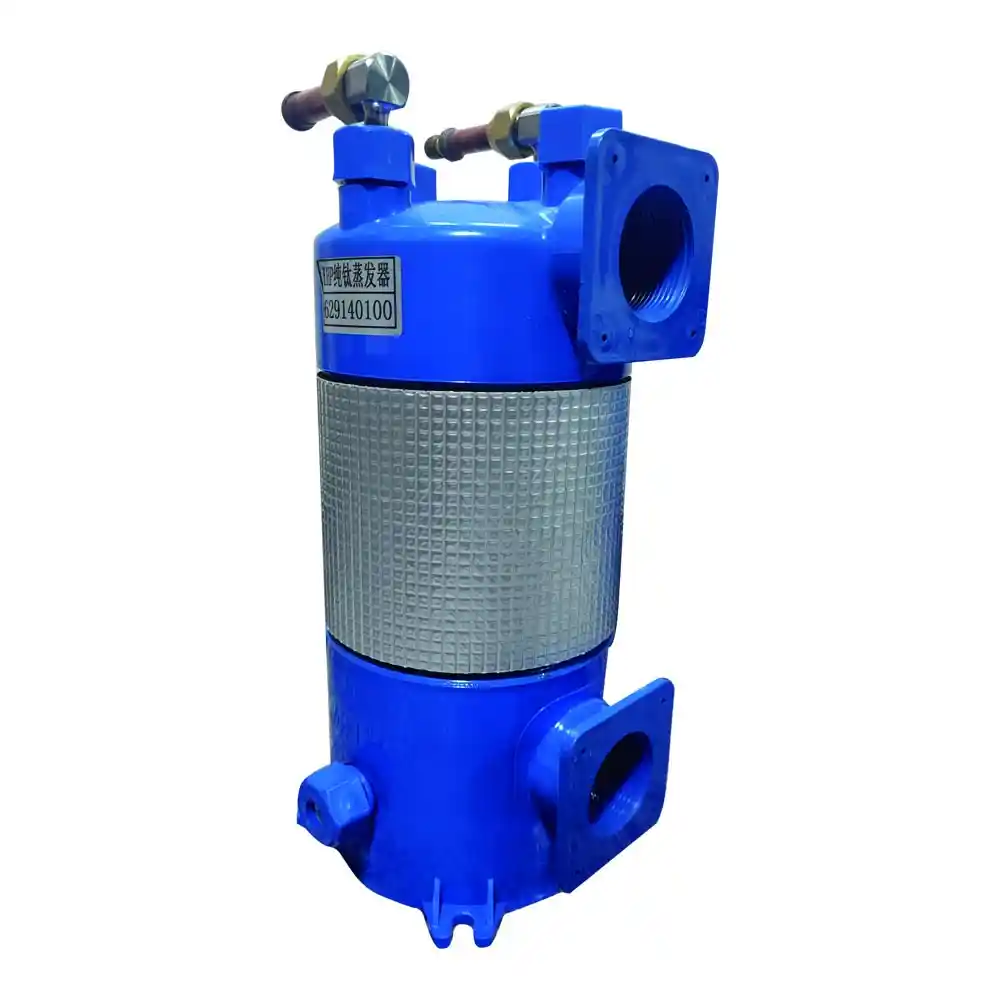
Introduction
Dimensional inspection is a critical aspect of quality control for titanium coil heat exchangers with PVC blue shells. This article explores the importance of dimensional inspection and various methods used to ensure the dimensional accuracy and conformance of heat exchanger components.
1. Importance of Dimensional Inspection
Dimensional inspection is essential to verify that the heat exchanger components meet the specified dimensional requirements. The following points highlight the significance of dimensional inspection:
1.1. Accuracy and Fit
- Dimensional inspection ensures that the dimensions of the heat exchanger components, such as tube length, diameter, wall thickness, and shell dimensions, are within the specified tolerances.
- Accurate dimensions enable proper assembly and fit of the components, facilitating efficient heat transfer and minimizing leakage risks.
1.2. Performance and Efficiency
- Dimensional conformity directly impacts the performance and efficiency of the heat exchanger.
- Components with accurate dimensions allow for optimal fluid flow, maximizing heat exchange efficiency and overall system performance.
2. Dimensional Inspection Methods
Several methods are employed to conduct dimensional inspection of titanium coil heat exchanger components. Each method has its advantages and limitations. The following techniques are commonly used:
2.1. Coordinate Measuring Machine (CMM)
- CMM is a versatile metrology device that uses a probe to measure the dimensional features of heat exchanger components.
- It enables precise measurements of various geometric parameters such as lengths, diameters, hole positions, and flatness.
2.2. Optical Measurement Systems
- Optical measurement systems, including vision systems and laser scanners, use optical sensors to capture detailed surface geometry.
- These systems provide non-contact measurements, allowing for fast and accurate inspection of heat exchanger components.
2.3. Calipers and Micrometers
- Calipers and micrometers are handheld measuring tools used for dimensional inspection.
- They are suitable for measuring simple linear dimensions such as diameters, lengths, and thicknesses of heat exchanger components.
2.4. Optical Comparators
- Optical comparators project a magnified image of the heat exchanger component onto a screen.
- They enable visual comparison of the component’s profile with a reference template or CAD data, facilitating dimensional analysis.
Table 1: Comparison of Dimensional Inspection Methods
| Dimensional Inspection Method | Principle | Advantages | Limitations |
|---|---|---|---|
| Coordinate Measuring Machine (CMM) | Probe-based measurement | High precision, versatile | Requires skilled operators, expensive equipment |
| Optical Measurement Systems | Optical sensors | Non-contact measurement, detailed surface geometry | Limited to surface measurements, may require surface preparation |
| Calipers and Micrometers | Handheld tools | Portable, cost-effective | Limited to simple linear measurements |
| Optical Comparators | Image projection | Visual comparison, profile analysis | Limited to 2D profiles, requires reference templates |
Conclusion
Dimensional inspection plays a vital role in ensuring the quality and performance of titanium coil heat exchangers with PVC blue shells. By utilizing dimensional inspection methods such as coordinate measuring machines, optical measurement systems, calipers, micrometers, and optical comparators, manufacturers can verify the dimensional accuracy and conformance of heat exchanger components. Accurate dimensions contribute to optimal fit, enhanced performance, and efficient heat transfer within the system. Effective dimensional inspection practices are crucial in maintaining the overall quality and reliability of titanium coil heat exchangers.


