Introduction
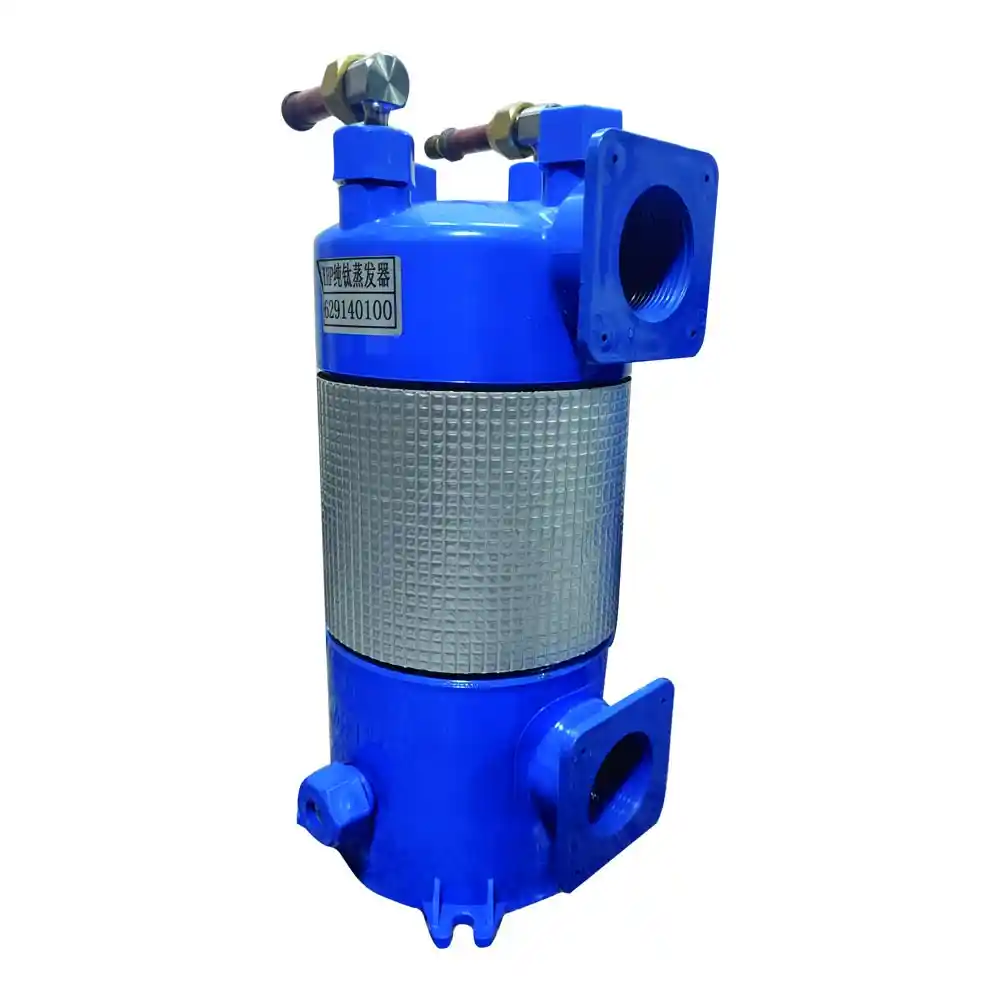
Coil installation is a crucial step in the assembly process of titanium coil heat exchangers with PVC shells. It involves the careful placement and connection of the titanium coils within the PVC shell to ensure optimal heat transfer efficiency and structural integrity. This article provides detailed information on the coil installation process in the assembly of a titanium coil heat exchanger.
1. Preparing for Coil Installation
Before proceeding with the coil installation, several preparatory steps need to be taken. These include:
1.1. Inspecting Components
Thoroughly inspect the titanium coils and the PVC shell for any defects, damage, or contaminants. Ensure that all components meet the required specifications and quality standards.
1.2. Cleaning
Clean the interior of the PVC shell to remove any dirt, debris, or residual materials that may hinder the coil installation process. Use appropriate cleaning agents and techniques to ensure a clean and contamination-free surface.
1.3. Coil Orientation and Configuration
Determine the desired orientation and configuration of the titanium coils within the PVC shell based on the heat exchanger design and performance requirements. Consider factors such as flow direction, coil spacing, and the number of passes for optimal heat transfer.
2. Coil Installation Procedure
The following steps outline a typical coil installation procedure for a titanium coil heat exchanger:
2.1. Positioning the First Coil
- Carefully position the first titanium coil inside the PVC shell, ensuring proper alignment and fit.
- Securely fasten the coil to prevent movement during the installation of subsequent coils.
2.2. Installing Subsequent Coils
- Install the remaining titanium coils one by one, following the designated coil configuration.
- Maintain consistent coil spacing and alignment to facilitate smooth fluid flow and maximize heat transfer efficiency.
2.3. Connection and Support
- Connect the inlet and outlet pipes to the appropriate locations on the PVC shell, ensuring a secure and leak-free connection.
- Use suitable clamps, fittings, or welding techniques to ensure the integrity of the connections.
- Provide adequate support and reinforcement to the coils and connections to prevent excessive stress or strain.
2.4. Finishing Touches
- Inspect the installed coils and connections for any signs of misalignment, leaks, or other issues.
- Make any necessary adjustments or corrections to ensure the proper fit and functionality of the heat exchanger.
Table 1: Coil Installation Checklist
| Installation Step | Descripción |
|---|---|
| Inspect Components | Thoroughly check the titanium coils and PVC shell for defects or damage. |
| Clean PVC Shell | Ensure the interior of the PVC shell is clean and free from debris or contaminants. |
| Determine Coil Layout | Decide the orientation, spacing, and configuration of the titanium coils within the PVC shell. |
| Position First Coil | Carefully place and secure the first titanium coil inside the PVC shell. |
| Install Subsequent Coils | Install the remaining titanium coils according to the designated layout and spacing. |
| Connect Inlet and Outlet Pipes | Securely connect the pipes to the PVC shell for proper fluid flow. |
| Provide Support and Reinforcement | Reinforce the coils and connections to prevent stress or strain. |
| Perform Final Inspection | Check for misalignment, leaks, or any issues and make necessary adjustments for proper installation. |
Conclusion
Coil installation is a critical step in the assembly of a titanium coil heat exchanger. By following a systematic procedure and ensuring proper alignment, spacing, and connection, manufacturers can achieve optimal heat transfer efficiency and structural integrity. Attention to detail and adherence to quality standards are essential throughout the coil installation process to produce high-quality heat exchangers.


